Upon leaving Melve, Gregor leads you on your first lengthy journey in Dragon’s Dogma 2. As you traverse the main path, one of your pawns may acknowledge a blocked entryway — don’t ignore this!
They’re referencing a cave with large boulders, and it’s actually easy to overcome, with some worthwhile rewards ahead. Here’s how to clear the boulders blocking the cave outside of Melve in Dragon’s Dogma 2.

How to unblock cave entrances in Dragon’s Dogma 2
If you can’t find the location of this cave, check out the image below.
Therewardsyou’ll receive are:
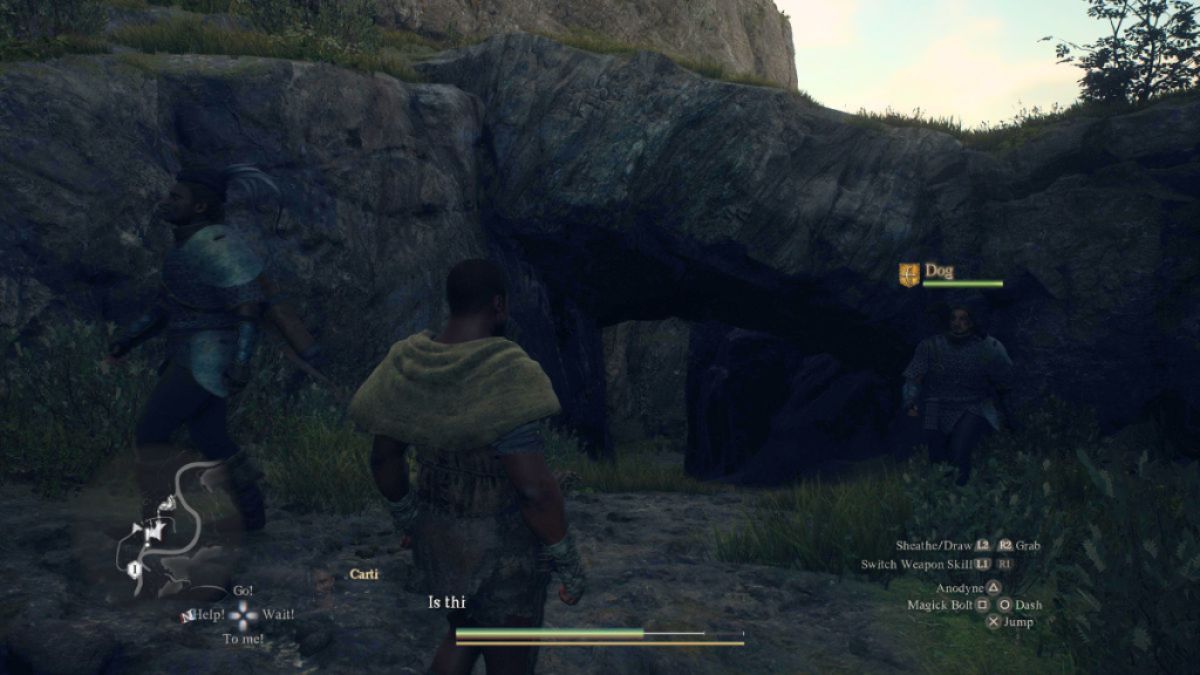
Approach the imposing boulders with your party. Then, aim directly at the boulders andpress the “Go!” command. Your party will demolish the obstruction, clearing the way to proceed. Yep, it’s that easy, but the game doesn’t offer any clues this is even possible. I discovered this from pure curiosity.
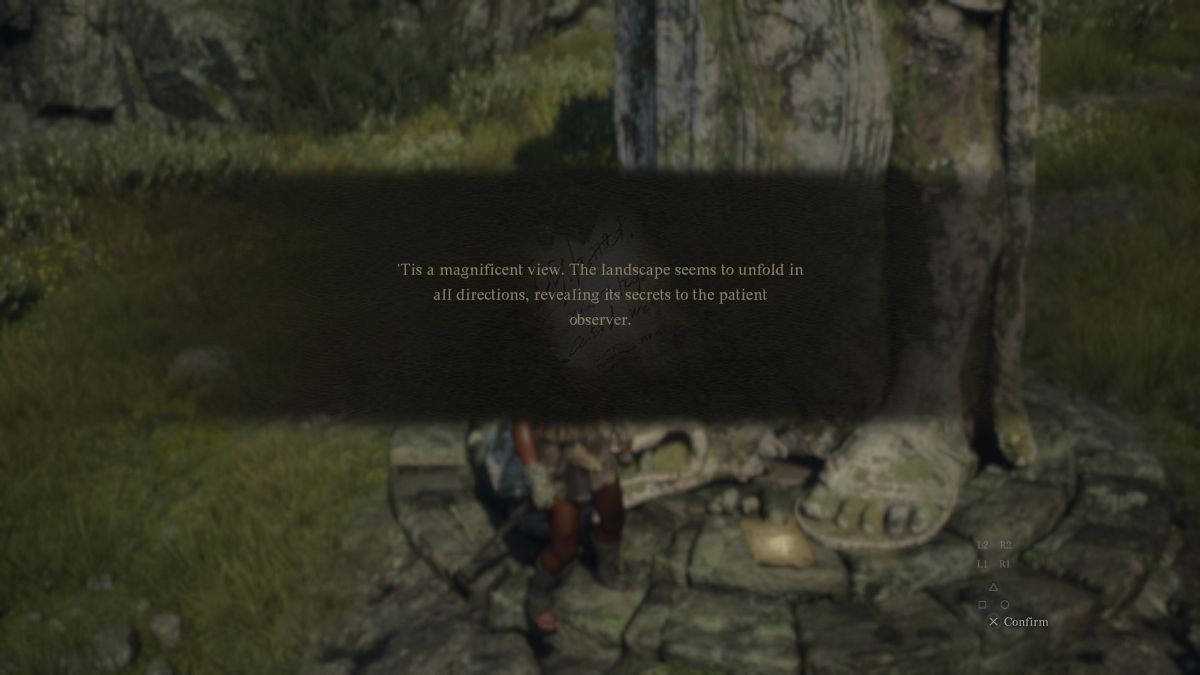
After making quick work of the boulders, stroll further into the cave — it’s a short walk leading to the cliff you couldn’t reach earlier. The path leads to a beheaded dragon statue and a written note nestled near the dragon head. The note acknowledges secret riches nearby, so pay close to attention to your surroundings.Note:I’m not actually sure if this is a dragon, but let’s call it a dragon statue.

Related:All Vendor Locations and Inventories in Dragon’s Dogma 2
The Ring of Cooling location
The Ring of Cooling is located directly on the cliff’s lower level by facing the direction indicated by the dragon’s head (see image above). You can technically reach the chest by jumping off, butyou’ll take massive damage from the fall— trust me.
Instead, locate the dirt path not too far off from the dragon statue. From there, hug the wall and you’ll eventually wrap around to the chest’s location. It’s not hard to find so long as you employ some directional awareness.
The Wakestone Shard location
After collecting the Ring of Cooling, explore the surrounding area until youspot a ladder leading down. Descend and destroy the goblins nestled around the campfire; you’ll make easy work of them. Then loot the surrounding area including the chest containing the Wakestone Shard.
The Forgotten Riftstone (Pawn)
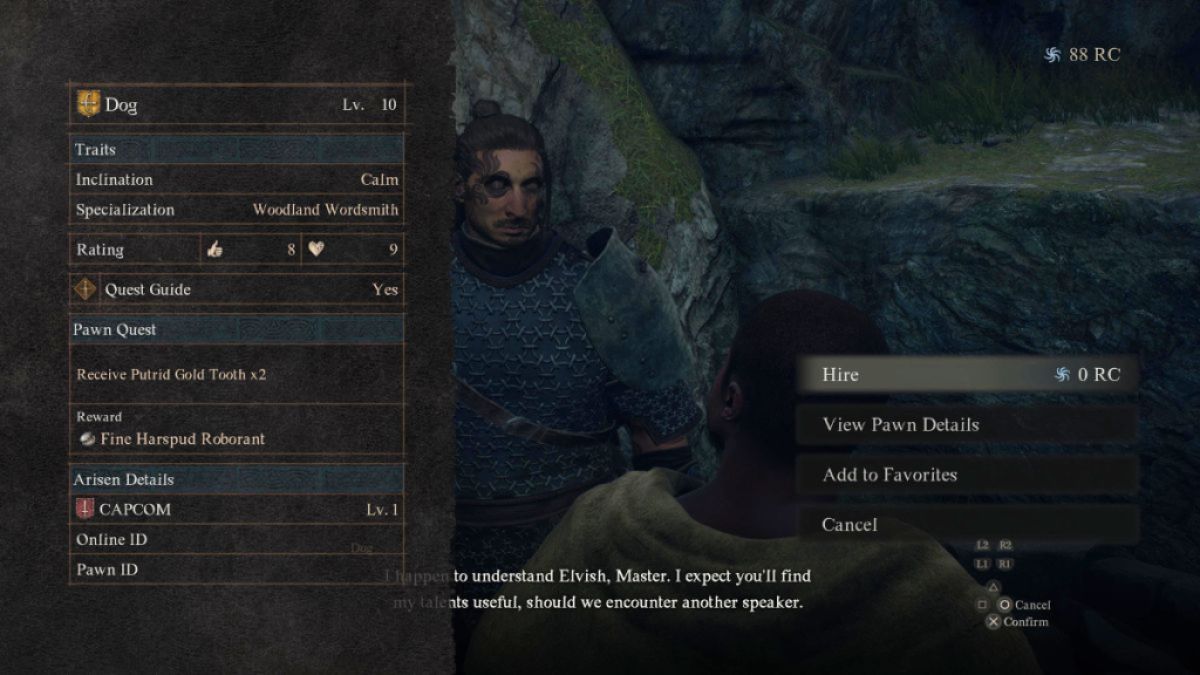
Remember theearthen land bridgeyou passed by after sliding down the dirt path? That’s where the Forgotten Riftstone is. Head beneath the bridge and follow the path to find the Forgotten Riftstone. Examine the Riftstone and it’ll repair itself with a short animation. I’m not sure if every Riftstone rewards the same Pawn, but this particular one let me recruit Dog, an archer who is just the goodest bestest boy ever.
you may’t slay giant monsters without a party at your side. That’s why we’ve gathered thebest pawns to use in the early game. At This point in your playthrough, don’t be afraidtochange your Pawn’s Inclination, or to evenexperiment with all of the vocationsfor the Arisen.