Lost Lands is one of the most popular point-and-click puzzle and object-finding series around. I love leading Susan into each new adventure and if you do too, read on for my full walkthrough for Lost Lands 4, The Wanderer.
Lost Lands 4: The Wanderer Full Walkthrough
Note that once you reach the Lost Lands, you can use the map (bottom right of your screen) to fast-travel between areas you’ve visited. For this reason, I won’t talk about how to get from A to B in this guide. Also, note the map will remind you of any scenes in which you haven’t yet collected the Collection Item (collectible) or Morphing Object.
At the start of the game, our hero Susan returns home to find a mysterious glowing crate in her home. This is part one of my full walkthrough for Lost Lands 4: The Wanderer and it will take you up to the light puzzle, which opens the gate to the Earl’s estate, including all puzzle solutions. If you want to find help for later parts of the game, use the links below.
A mysterious box
Click the TV (a1) for a close-up to grab yourDiary, then the glowing chest (a2) to read the note telling you that to open the chest, you’ll need the Anti-Magic Gloves you brought back from your last adventure. Take theBallpoint Pen(a3) and yourCell Phone(a4), then check the TV close-up (a1) once more to charge up your phone. Once it is plugged in, click the phone to check your messages and note the new safe code,4 8 15 16 23 42.
Select the photos on the wall (a5) and use the pen to open up and reveal the safe. Input the code and you’ll get theAnti-Magic Gloves. Use them to open the chest, take theCompass of the Worlds, and head out. When you arrive on the ship, click the cabin doors to knock on them and they’ll open up. Click the entrance to go inside.

Click Captain Finuer Stulburn for a brief conversation that triggers a symbol-matching puzzle. To complete the puzzle,use the gaps on either side to drag pieces out of the center circleso that you may rearrange them. Keep doing this until they all match the inner circle and the puzzle is solved. You can’t fail, so just keep switching pieces until the circle is complete (see above).
Related:Lost Lands 9 Walkthrough – Full Guide
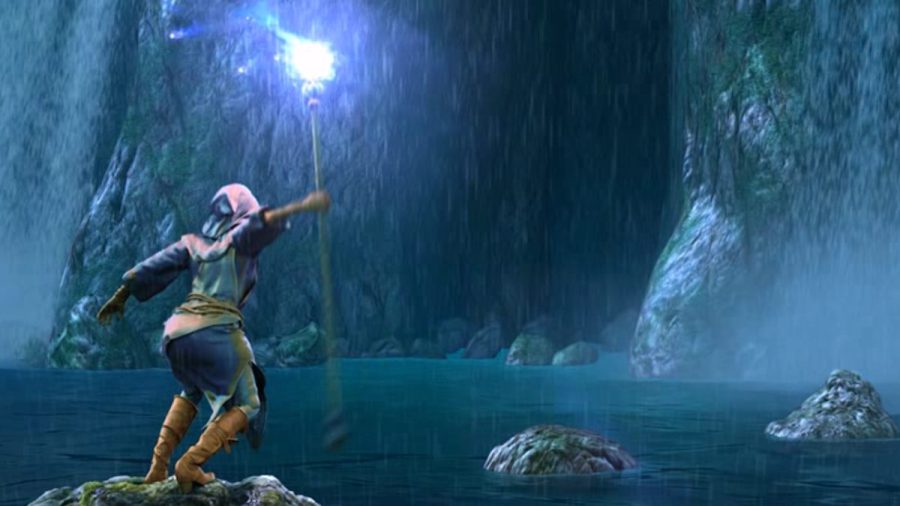
The Cave
Pick up theCollectible(b1) andMorphing Object(b2), then click the curtain (b3) to start an object-finding challenge. Note you need to light the candle on the stool to burn the wax to get the knob, and you need to use the chisel and weight to open the clasp on the window to find the corkscrew. Once complete, you’ll get theBlunt Knife. Use the knife on the door (b4), and head outside.
Click Corko (c1) to move to the next scene and talk to Corko by clicking him there to find out you need to help him fix the ferry so you can head to the town across the river.

Go back to the scene outside the room you were in and find theCollectibleand theMorphing Object(c2), which are right next to each other on the ground, as well as taking theMap PieceandWood Shavingsby the tree stump (c3). Head back to Corko.
TheCollectibleis by the bridge (d1), while theMorphing Objectis on the path near Corko’s feet (d2). Take someTea Leaves(d3) and theHammer(d4), then move back up the hill. Use the hammer to remove someBent Nails(c4) and then click the box again to open it, taking aManuscriptandFirestarterfrom inside. Select the bent nails in your inventory and use the hammer on them to createNails.

Now you can give the nails to Corko to start a plank placement puzzle. Each of the three puzzle levels has three pieces that go on it, adding up to eight planks on each. If you get stuck, use my image above and note the placement of metal supports to guide you. Once complete, you canuse the ferryto go to the Bay of Sorrows.
The Bay of Sorrows
TheMorphing Objectis by the well (e1) and theCollectibleis by the ship mast (e2). Use the hammer to remove the two signs on the signpost (e3), revealing some symbols. There’s nothing else to do here yet, so click the gates (e4) to head into the town.
You’ll find theMorphing Objectin the middle of the road (f1), and theCollectibleby the cartwheel (f2). The area at the top of the stairs (f3) will get you aManuscriptand aLong Club. Clear the rest of the rubbish here to reveal a symbol, then click the archway (f4) to move on.

Take theBucket(g1),Collectible(g2), andMorphing Object(g3) from the beach, then get a close-up of the forward ship area (g4) and click thePry Barto collect it (don’t miss theKindlingandMap Piecein the same close-up). Use the long club on the net (g5) to get theSteering Wheel.
Move to the outskirts of town and use the steering wheel on the well mechanism (e1), which will raise the rope. Add the bucket, click the device to drop it, and pull it back up to get a Bucket of Water. Don’t miss theMap Piecein the well close-up.

Related:Lost Lands 7 Walkthrough – Full Guide
Releasing Jepp
Head back to town and use the pry bar to release the man in the cellar (f5), which also gets you theMetal Bars. Now click the kitchen area (f6) for a close-up. Put the wood shavings and kindling in the oven, and use the knife and fire starter to light it. Put the tea in the saucepan, then remove it once dried and put it in the cup. Use the bucket of water on the kettle, add the lid, then put the kettle on the cup to get aCup of Tea. Give it to the man in the cellar (Jepp) and after a cutscene, you’ll have access to the cellar.
TheCollectibleis by the straw bed (h1) and theMorphing Objectis on the steps (h2). Click the bed for a close-up, then click its corner to find aManuscriptand take aShovel Blade. Also, take aCrystalfrom the stairs (h3) and theWhetstone(h4).

Select the blunt knife in your inventory and use it on the whetstone to get theSharp Knife. Now select the blade in your inventory, add the long club, and then use the sharp knife on it. Click the sharpened club and you’ll receive theShovel.
Move to the ship and use the shovel to move the sand (g6), after which you may pick up theFish Figurine. Then click the rope (g7), which raises the gangplank, giving you access to the ship. Go back into town and use the figurine on the door (f7) to gain access to a missing object puzzle. Once completed, you’ll get theFragment.

On the ship
Head back to the beach, go up the gangplank onto the ship, and click Jepp for a cut scene. Click Jepp afterward to get more details, then grab theMorphing Object(i1) andCollectible(i2). Get a close-up of the spyglass (i3) and take asecond Crystal, also noting the symbols carved into the wood.
Click the steering wheel (i4) next, adding the fragment to it to start a light puzzle. If you struggle with this one, one solution is 4,6,1,3,6,8,2,7,4,2,5,8,3,5,7,1,2,3,4,5,6,7,8,1 (see image above). Once complete, you’ll get aClock Handand aKey.

Go back to the cellar, use the key to open the secret passage into the captain’s house (h5), and head inside. Grab the ladder (j1) and place it under the trapdoor (j2), take theAxe(j3), then click the bed (j4) to find aManuscriptand athird Crystal(after cutting the pillow open with the knife). Take theCandleandLockpickfrom the desk (j5), then read the note. This will trigger a brief cut scene with Jepp, after which he’ll give you the Berserker’sRecipe. Click the desk again afterward and take theGear.
Select the clock (j6) and open the bottom section to find aMap Piece. You can add the clock hand to get it out of your inventory, but it won’t do anything yet. Both theCollectibleand theMorphing Objectare on the shelves behind the bed (j7).

Related:Lost Lands 6 Walkthrough – Mistakes of the Past
Opening the gate
Move to the town, use the candle in the oven (f6) to get aLit Candle, then return to the captain’s house and use the lit candle in the dark area leading to the loft and take theBeaver Tail. When you do, the steps will break.
Go back to the cave where you started, add the beaver tail to the beaver statute (b5), and click it once attached to open the mouth and take afourth Crystal.
Back at the ship, click the winch (i5) for a close-up and get aManuscript Partbefore adding the gear to the mechanism. Click the winch again to lower it. If you now go back to the beach you may access the net (g5). Use the knife to cut it open and take thefinal Crystal.
Return to the area outside town where the ferry dropped you and select the gates (e5), adding the five crystals to start a light-path puzzle. You need to rotate the crystals so that the light from the top left is redirected through all of them and hits the device in the bottom right. Once complete (see above), the gate will open and give you access to the third region of the game,The Earl’s Castle.
If you want to continue the walkthrough with us here at Pro Game Guides, click through to myLost Lands 4 walkthrough, Part 2!
