The Warlord’s Ruin Dungeon inDestiny 2has you searching for 10 Ahamkara Bones which are locked behind physical doors and a gated quest structure. For longtime Destiny 2 players, this shouldn’t be anything surprising, as most content is intended for maximum replayability.
Where are the Ahamkara Bones in the Warlord’s Ruin Dungeon? (Destiny 2)
90% of theAhamkara Bonesare behind locked doors throughout the Dungeon. To unlock them all, you’ll either need a fireteam member capable of doing so, or you’ll need to progress the quest to do it yourself. Because the quest is staggered, you’ll have to run Warlord’s Ruin several times to get them all.
For your troubles, you’ll get a random Exotic, a Triumph, increased chances at getting the Dungeon Exotic, and one of the necessary objectives for this Season’s title. It’s not great when compared to the 6-10 hours of running the same Dungeon over and over.

Location #1
The first Ahamkara Bone you’re likely to encounter is actually the last one of the Dungeon. This bone is found next to the final chest and is required to progress the quest from Ikora Rey. Ignore the lack of bones in my screenshot as I had already collected them in a previous run.
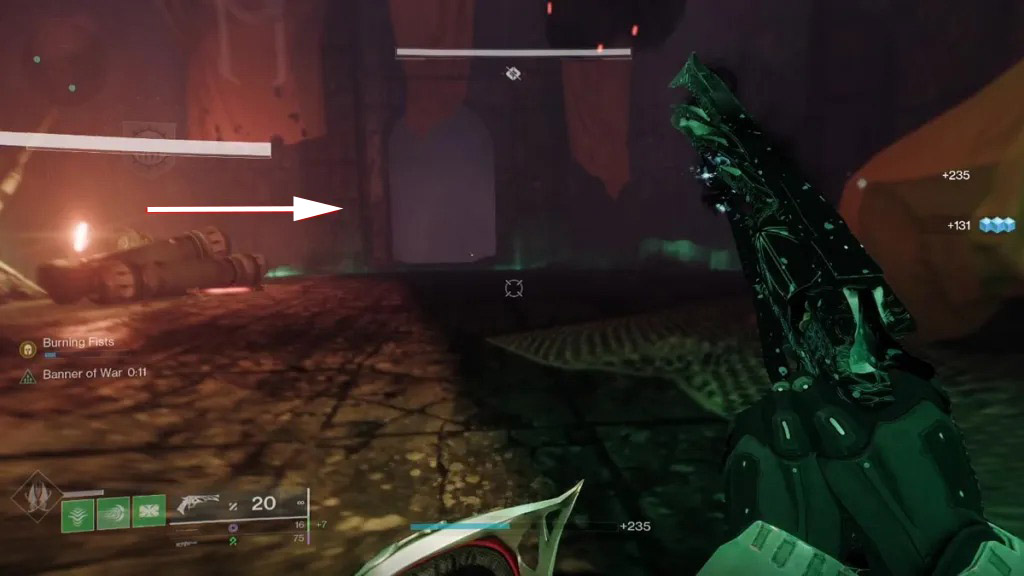
Location #2 - Dispel I
Bone the Second is located directly after crossing the rope bridge and going into the entrance. You will need to have the Dispel I ability.
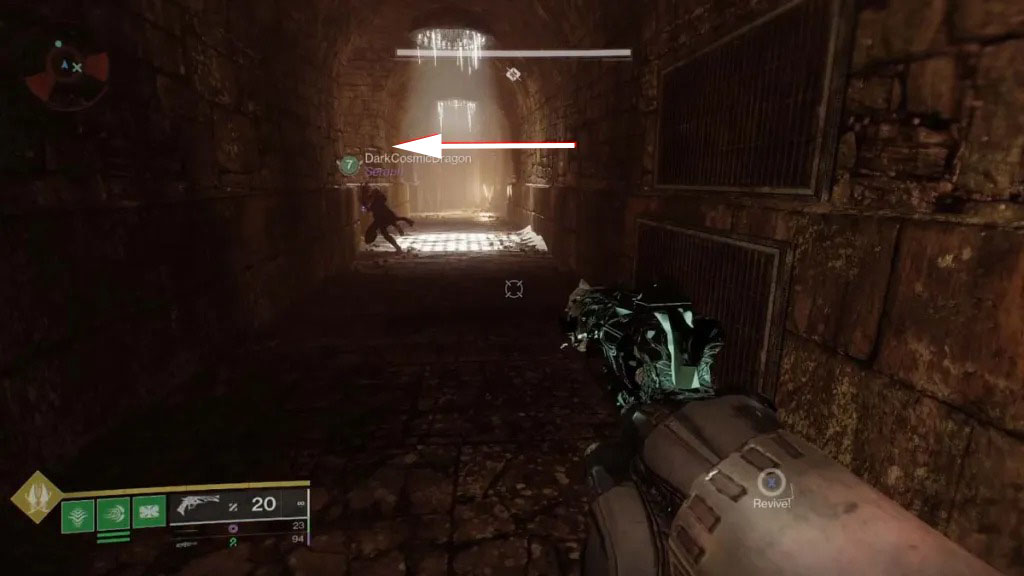
Location #3 - Dispel I
After escaping the jail, you’ll come to the first hole in the ceiling. Jump up and watch out for the spike trap on the sides of the hallway. Take a right at the first intersection to find the Dispel I door.
Related:Destiny 2 Warlord’s Ruin Secret Chest Locations
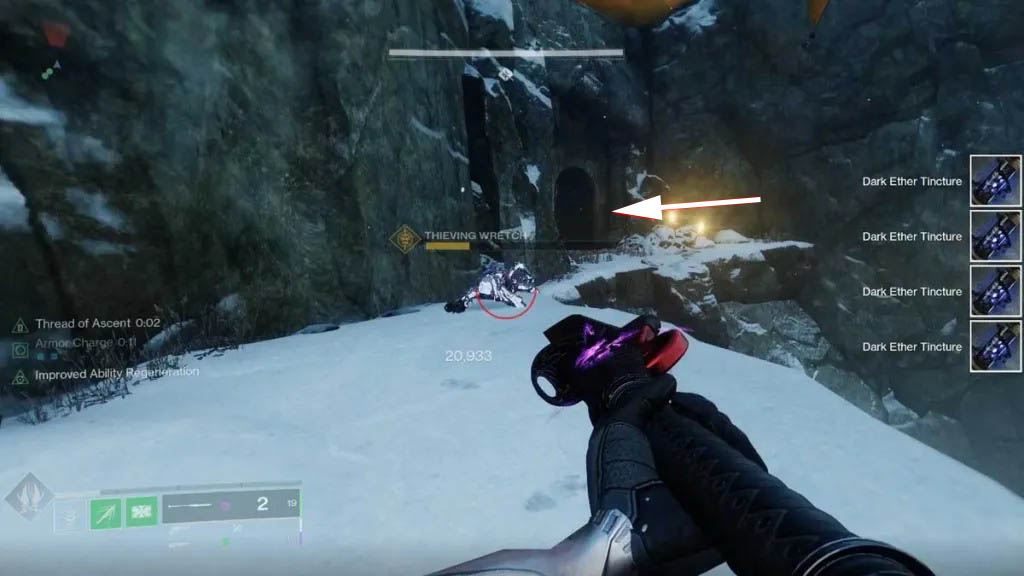
Location #4 - Dispel I
After the fight against the Locus of Wailing Grief, you’ll head out onto a cliff. Following it to the section with the hanging yellow tarps will lead to an entryway leading to another Dispel I door.
Location #5 - Dispel II
This bone is back in the section after the jail. The reason I’ve put it here is because you’ll need to advance the quest to be able to open Dispel II doors. In the hallway with the stacked spike traps on the wall, you’ll hop over them and take a left. Just past the second spike trap will be the door.
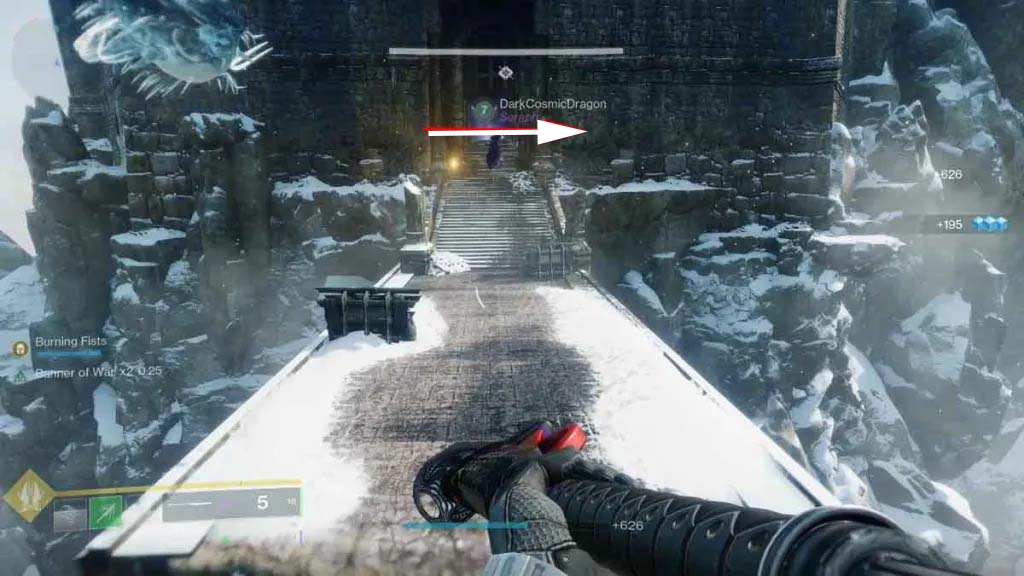
Location #6 - Dispel II
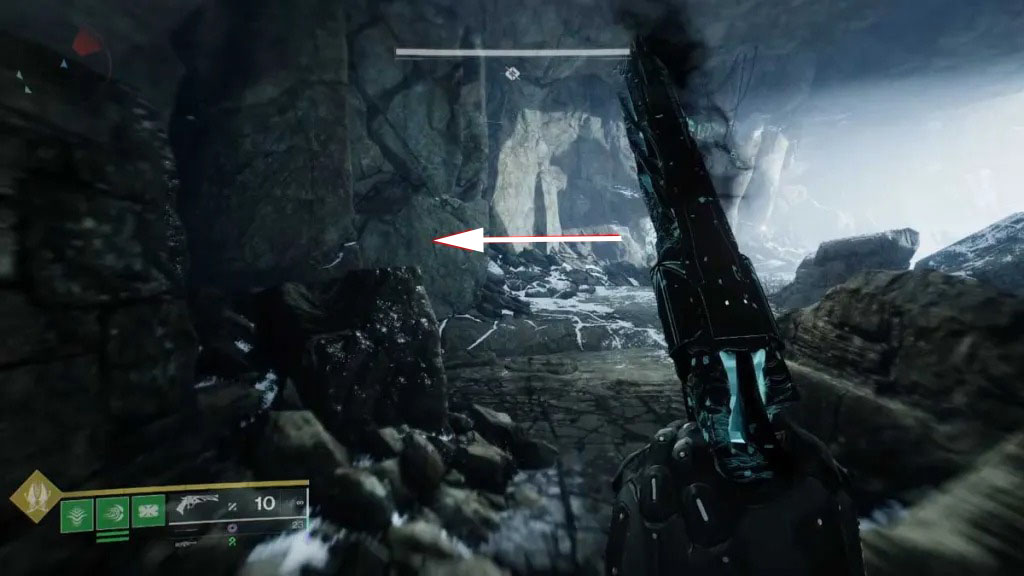
On the bridge with the flying meatball will be the foreboding keep that houses the second boss at its peak. Instead of going left to enter the tunnel, go around to the right side for another tunnel which holds a Dispel II door.
Location #7 - Dispel II
After the second boss fight will be a tall room that has been frozen over. Ascend to the top and continue into the cavern. There will be enemies on the right side of this room. Ignore them and go left to find the Dispel II door.
Related:When does Destiny 2 maintenance end?

Location #8 - Dispel III
Back in the jail section, you’ll head down the stairs and jump up into the ceiling via a large hole. Instead of dropping down the next hole, continue past it to find a Dispel III door.
Location #9 - Dispel III
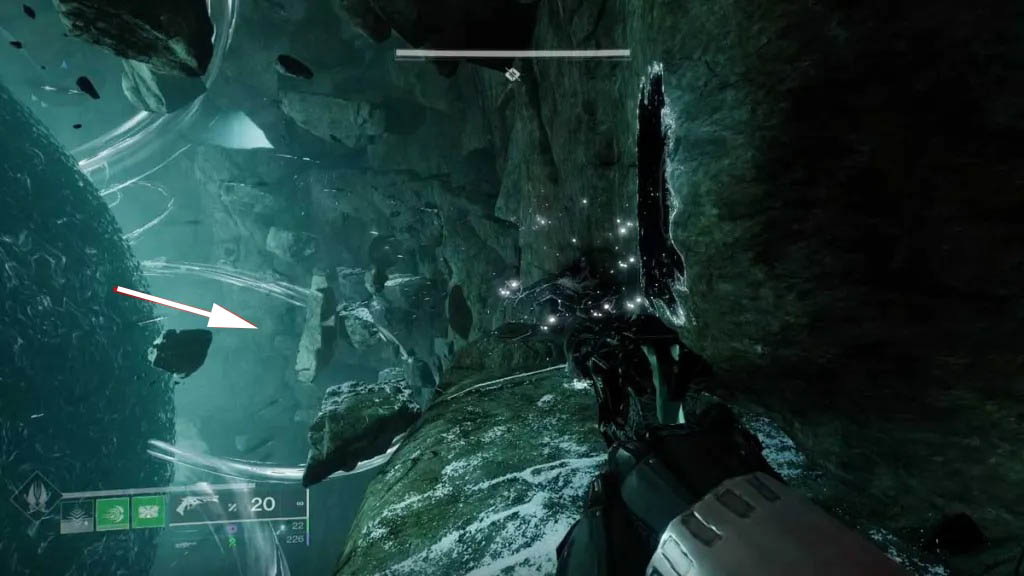
In the room with the gigantic Taken Blight is our second to last door. There is a ledge that you’re able to jump down to which is underneath the Taken energy blasts that shoot you into the void.
Location #10 - Dispel III
In the area with the column-esque mountains and the Taken Blight in the center will be the final door containing an Ahamkara Bone.
For more Destiny 2 content, check outDestiny 2 Warlord’s Ruin Dungeon guide – Locations, boss loot, & moreon Pro Game Guides!